So here’s how I made that cake I showed you Monday.
Step 1: Collect the necessary ingredients:
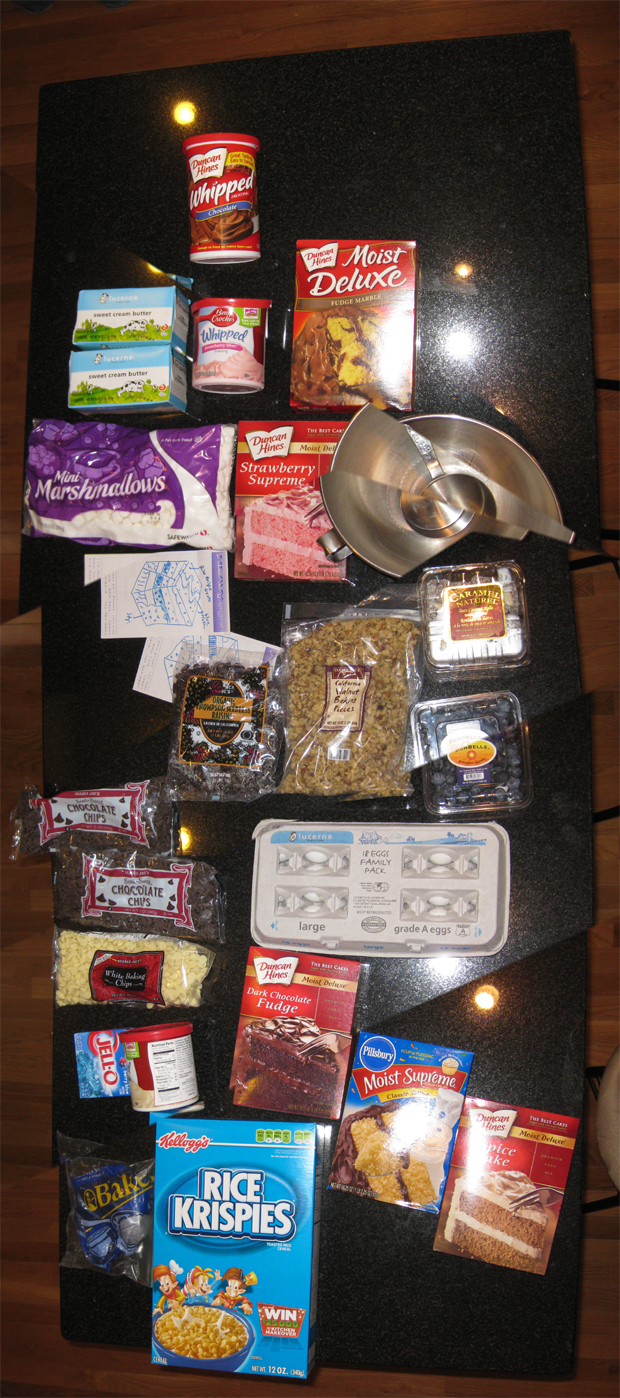
(Nice job with the stitching, Photoshop… jeez!)
Step 2: Clear your schedule and start baking.
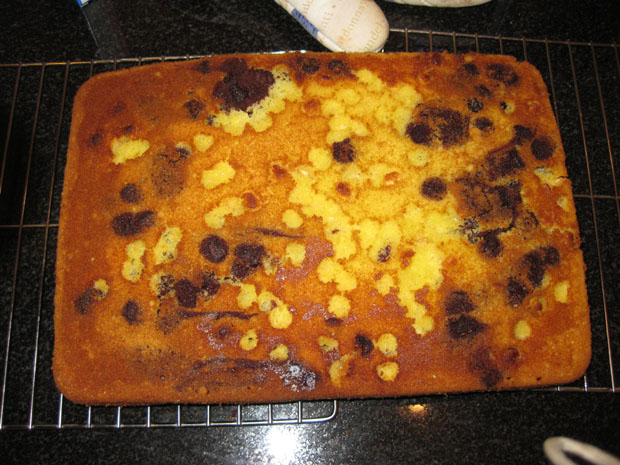
My first layer was to be “the basement complex” and so I wanted something marbled in appearance. Mixing chocolate-powder-stained batter with regular yellow batter was the method, and I threw chocolate chips into the mafic batter and “white baking chips” (such a descriptive name!) into the yellow batter, thinking they would be like metamorphic porphyroblasts. However, my batter was insufficiently viscous, and many of these chips sank down through the batter (approximating crystal settling perhaps?) to line the bottom of the cake. When I pulled it out of the oven, many of these chips stuck to the bottom of the baking pan:
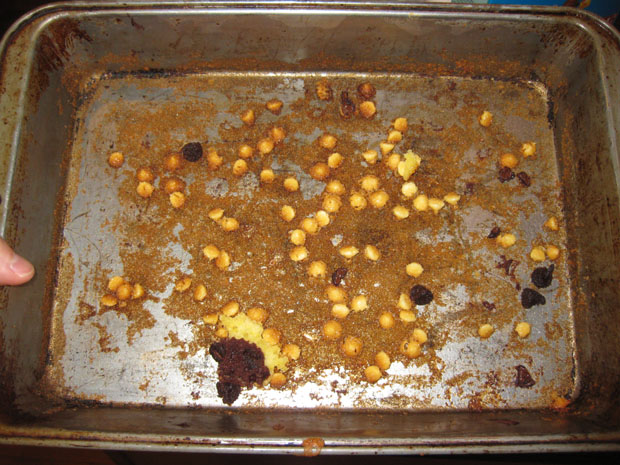
And there were corresponding cavities in the base of my “basement” cake:
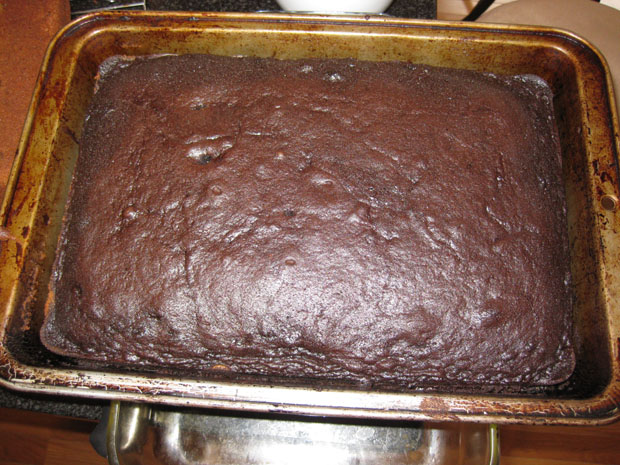
I baked a “basalt” (chocolate) cake next:
And then a yellow cake, and then a spice cake. The spice cake was where I started going crazy adding extra ingredients. I tossed in some walnuts and coconut and raisins, and then added in a series of “petrified trees” made of date logs. I just laid them down in three linear arrays atop the unbaked batter:
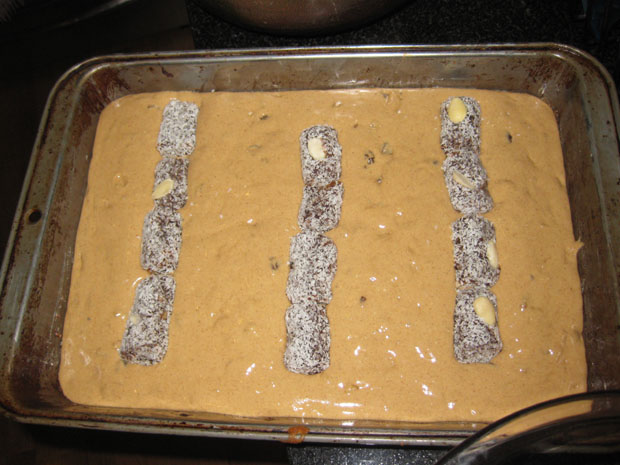
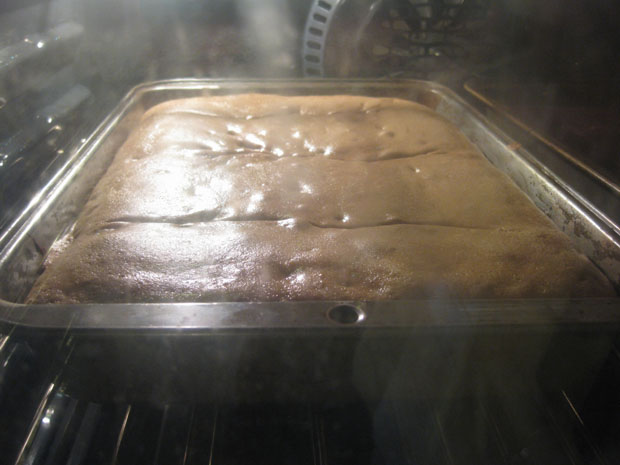
What happened next was interesting (to me, anyhow): the cake swelled as it baked, and the logs sank, and the top surface of the cake reached up and wrapped around the logs, sealing them inside, like the soft sediment deformation that results in ball-and-pillow structure. Here’s a view into the oven as this process was playing out:
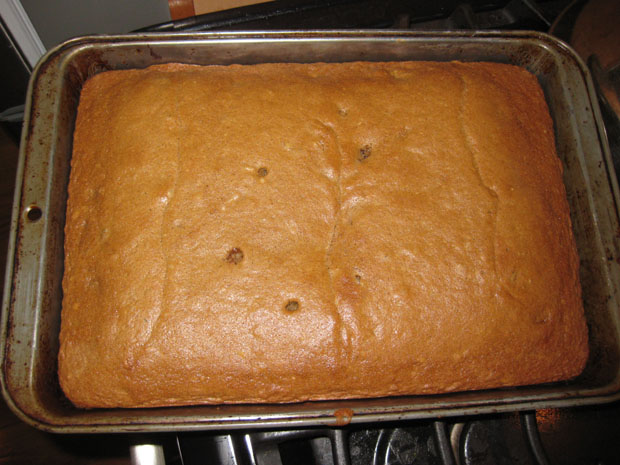
Here’s the top of the spice cake stratum once it was done baking (the holes are me testing whether it was “done” with a chopstick). Notice the three “seams” marking where the date logs have sunk into the cake:
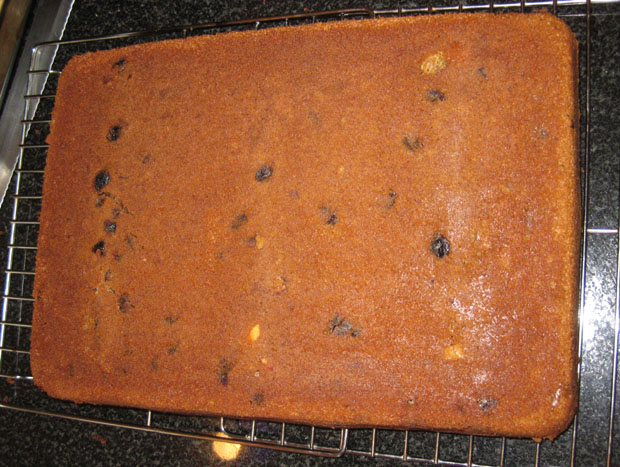
The bottom side of the spice cake is shown next. Note the three linear trends of the logs are visible here too, especially at the far left, where the force of the sinking log has pressed raisins and walnuts through the batter and up against the bottom of the pan:
Now it was time to start layering the cakes. Icing served to glue them together. Striving (as always) for authenticity, I added the crumbs and scrapings from the cake pan once the “basement” cake had been removed (see photo above). These represent sedimentary particles eroded off the basement, and marking the unconformity:
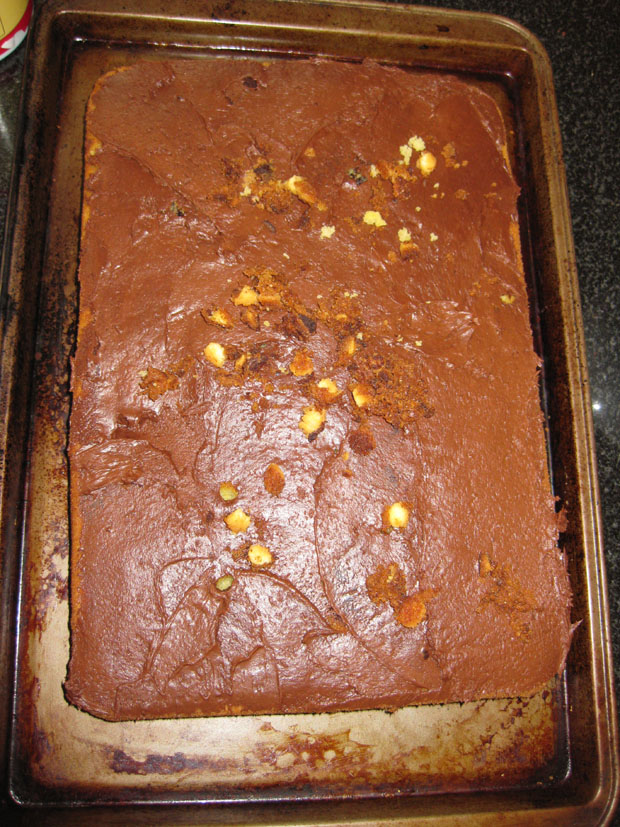
The basalt layer got slapped down next, but I immediately saw a problem — each cake was domed up in the middle, and stacking multiple cakes would result in them touching in the middle, but having the edges shorter than needed to reach the neighboring cake. Accordingly, I engaged in a little premeditated erosion:
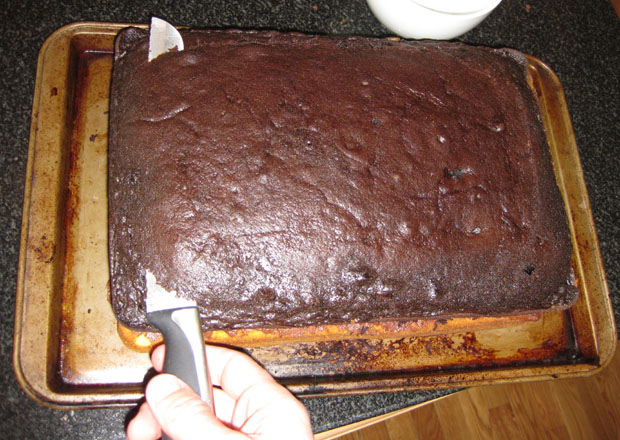
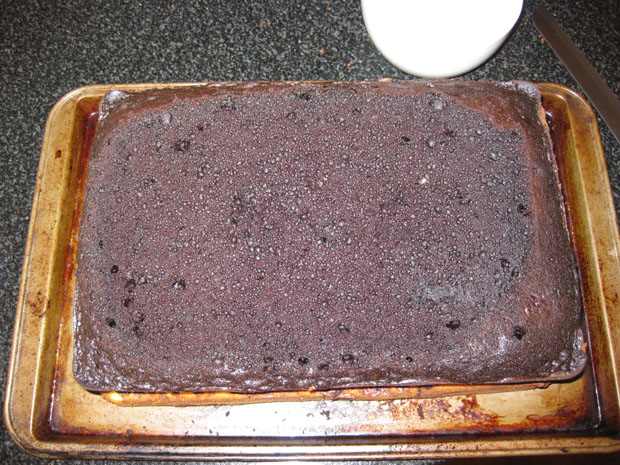
With the domed top of the basalt removed, I iced it:
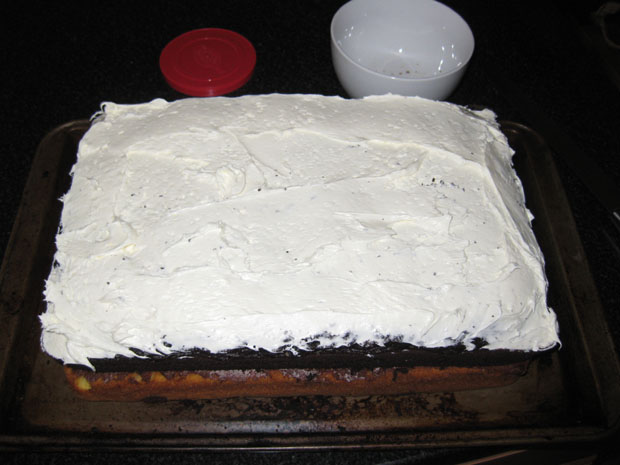
And added some sediment:
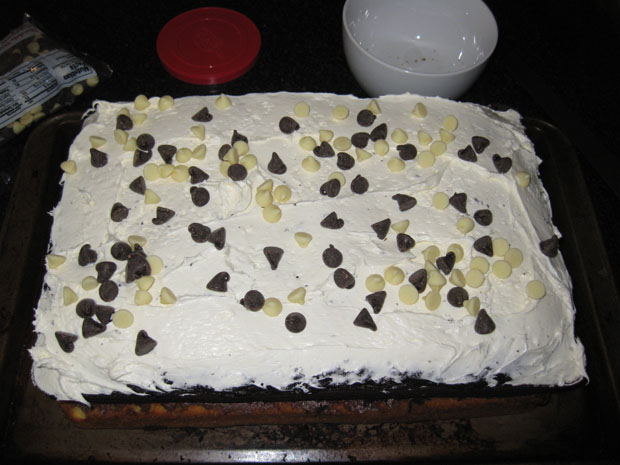
Likewise on up through the stack, reaching my log-bearing spice cake:
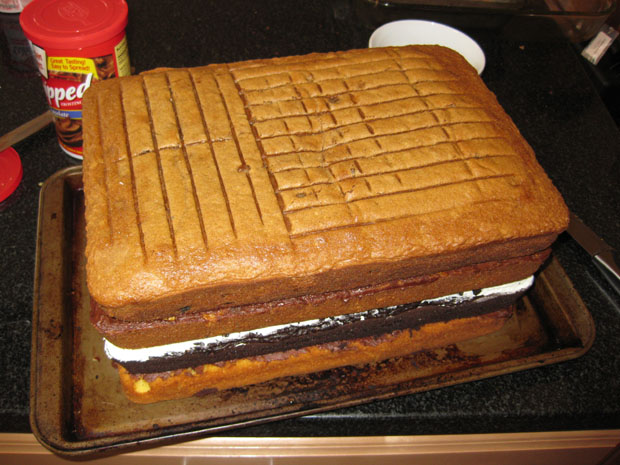
(The gird shape on top comes from me cooling it too soon upside-down on a cooling rack. It’s unintentional, though I suppose you might try to make the claim that it represents two orthogonal joint sets.)
Time to insert the pluton! While all this other stuff was going on, I had baked a circular (not rectangular) strawberry cake. I quartered it and stacked the quarters, producing a thick wedge with 90° of arc. Next, I would have to create some accommodation space. My way of solving “the room problem” was to cut out a corresponding sized-and-shaped piece of my stratiform composition:
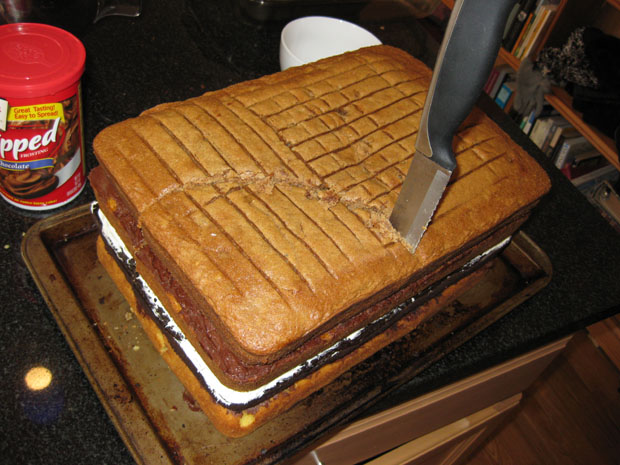
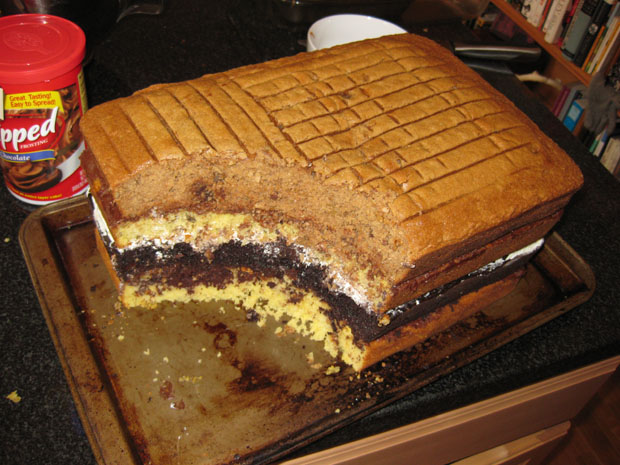
The “pluton” of strawberry-flavored granite fit into this notch:
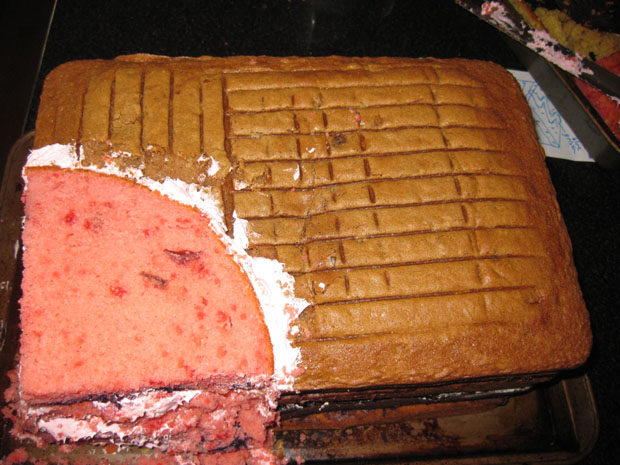
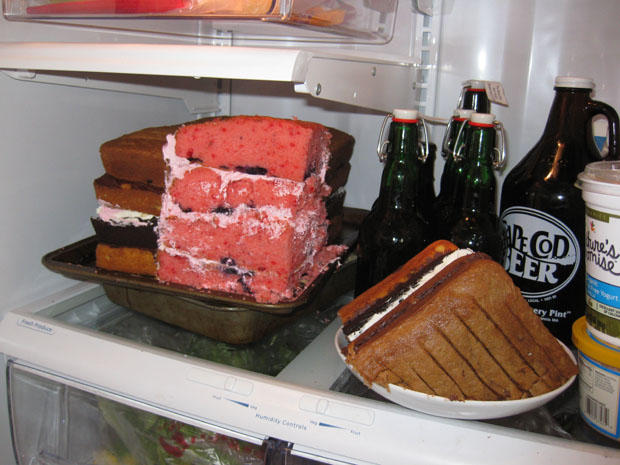
Here’s the cake, and it’s “missing piece,” chilling in the fridge while I prepared my next move:
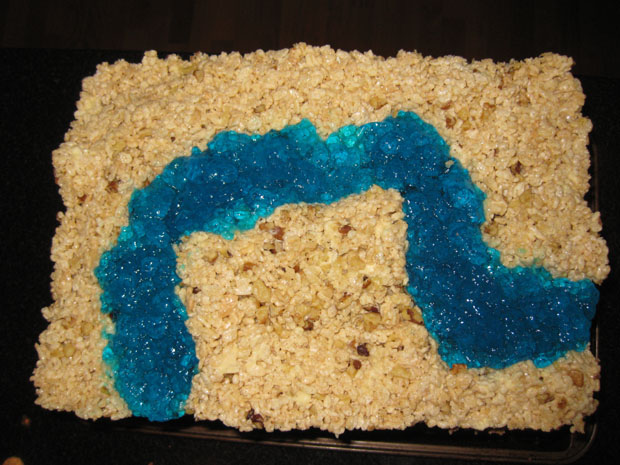
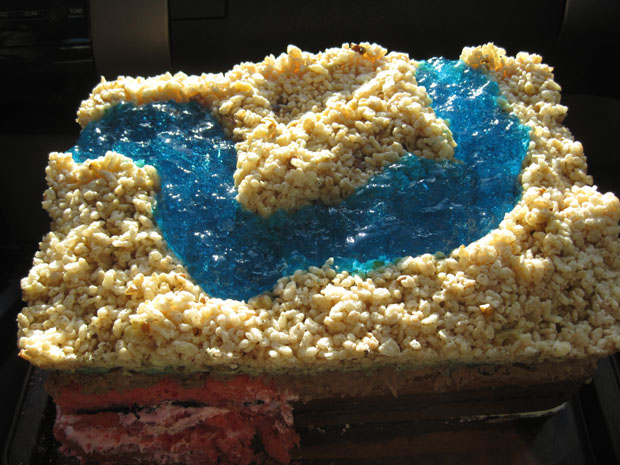
I baked a batch of Rice Krispie treats, and carved out a meandering channel in them. I mixed up some blue Jell-O and tried at first to pour it into my channel. However, the porosity and permeability of the Rice Krispie treats would make an excellent aquifer, and the liquid Jell-O solution soaked right through. So I put it in the freezer to set up a bit more, and when it got to be a gelatinous goop, I poured it into the channel, where it stayed:
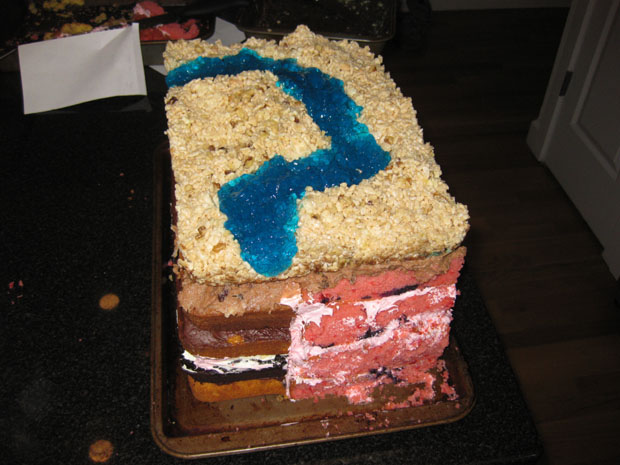
This was sealed to the top of everything else along a layer of homemade icing (basically, butter + sweet stuff), since by this time I had run out of the store-bought stuff. The finished product looked like this:
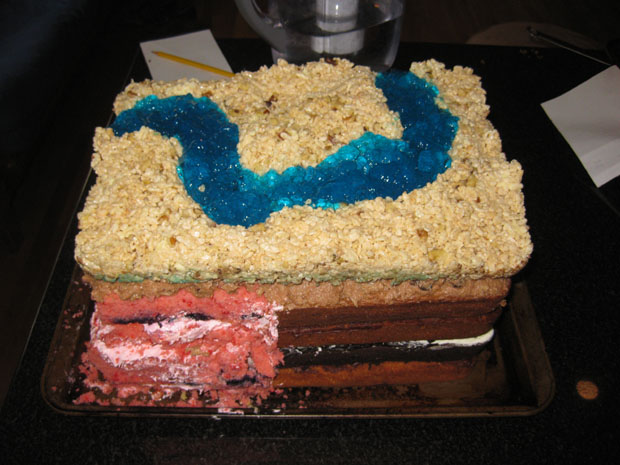
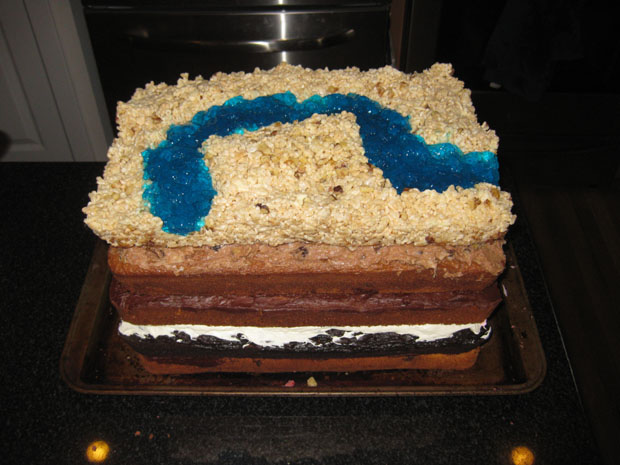
Rotated 90° counter-clockwise for another view:
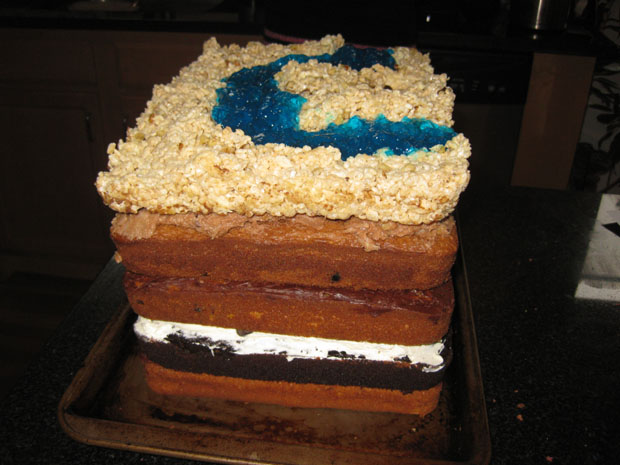
Rotated 90° counter-clockwise for another view:
Rotated 90° counter-clockwise for another view:
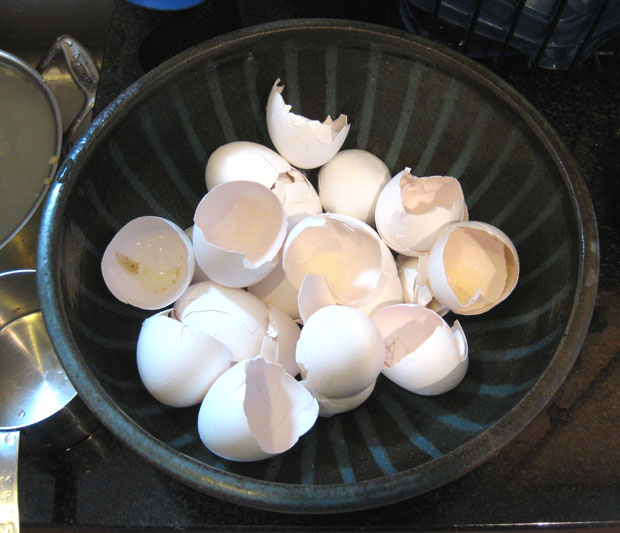
Total casualties, 18 eggs:
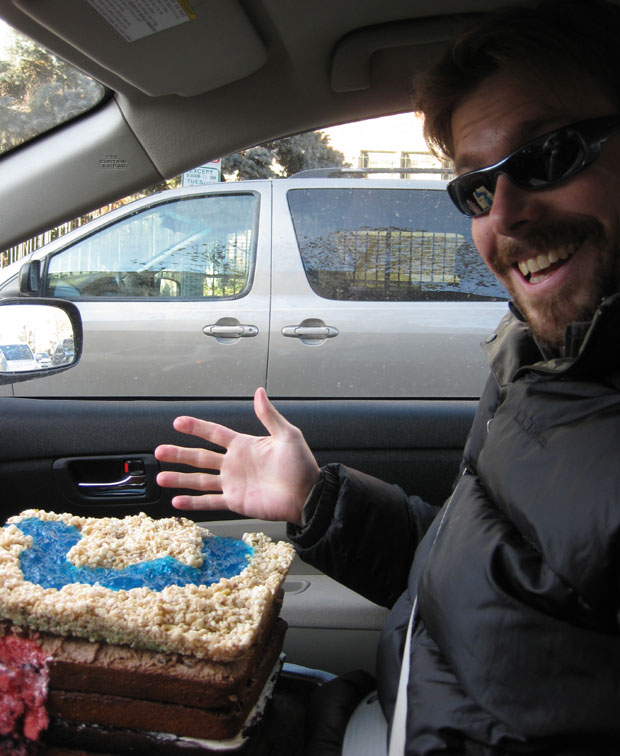
A few hours later, we were off to friends’ house for dinner. I rode shotgun, cradling my cake in my lap:
I loved the way the upper surface looked in the sunlight. Ahh, the beauty of nature:
The final step was a big cut to reveal the cross-sectional structure…
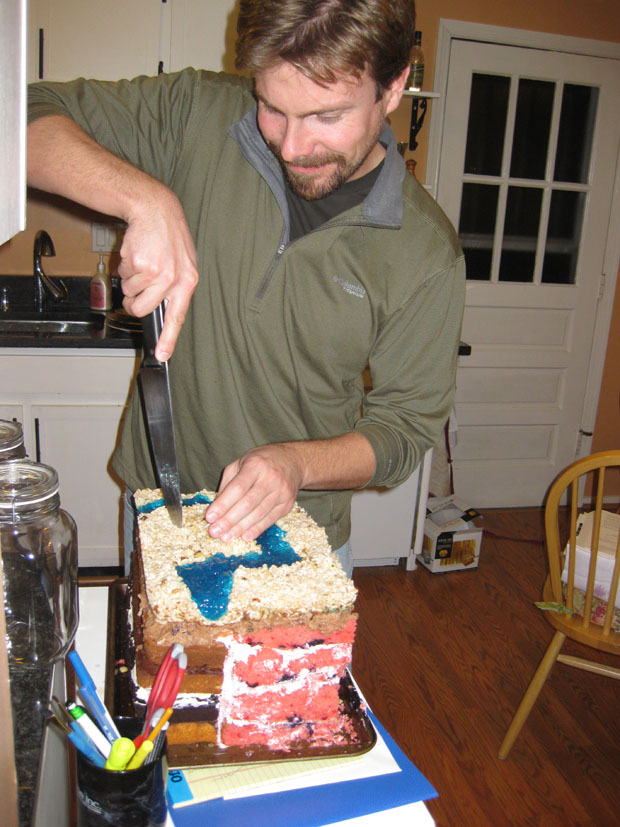
And you know what it looked like after that…
——————————————————————————-
Got something to contribute to the Bake Sale? Remember that this Friday is the when the oven timer goes “ding!”

This is pretty darn epic – and it looks tasty!
Hmm. So the room problem is solved by making space in the refrigerator… of course!